Custom Capture Fields With Options
Grid (Table) Field Creation
Grid field types have three variables for each column in the display: Name, Description, and Field Type. The field types within a grid are limited to Test, Memo, Numeric, Currency, and Date.
Click here for a video demonstrating grid creation

- Once you are in the pop-up window for the grid, click
 to get a blank row.
 - Enter the values for the first column you want in the table:
- Name: Column Name
- Description: Tooltip that describes the column that will be shown when the user hovers over the column name in the opportunity (optional)
- Field Type: Select the field type for the responses in this column
- Repeat until you've added all the options necessary. Click outside the text field for your last option, then close the pop up.
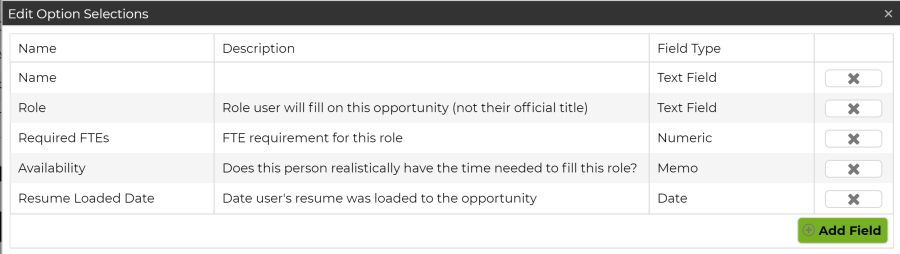
That's it! Users will see the table and have the ability to add or remove rows and enter data into the table within each opportunity.

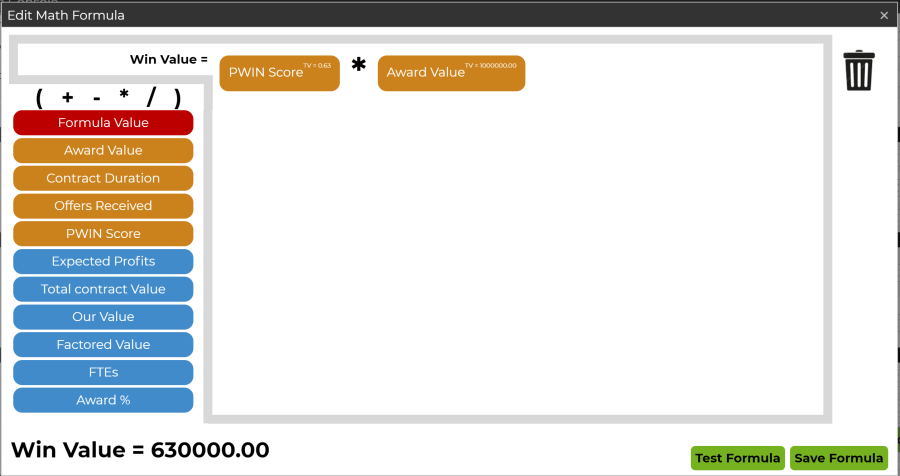
Formula Field Types
Create math formulas using any numeric or currency fields in the app -- both those that we provide, and your own numeric and currency custom field types.
Click here for a video demonstrating formula creation
![]()
- The screen above shows the initial formula field seen when you open the formula field input for the first time.
- Drag and drop the form elements and math symbols into the field to build your equation.
- The red "Formula Value" can be used to input a constant in the formula.
- When you select this element, you will get an input box in which to add the constant value you want used in this equation.
- The orange fields are those that exist in all accounts based on the C2P inputs. The blue fields are the existing numeric and currency fields in your Custom Capture account.
- When you select any of these elements, you will be required to input a test value for the element. Use a realistic number to test how the equation functions. These numbers will not be used in the formula outside this location.
- The red "Formula Value" can be used to input a constant in the formula.
- If you need to remove an element from the formula, drag it to the trash can on the right hand side of the screen.
- When your formula is complete, click
 to verify that the results are what you'd expect.
- Results will show on the bottom left side of the window.
- Results will show on the bottom left side of the window.
- Save the formula once you have it set correctly.
- Drag and drop the form elements and math symbols into the field to build your equation.
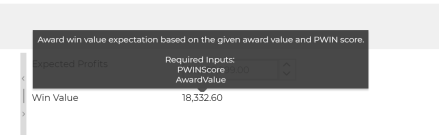
That's it! The user will not be able to enter values into formula fields for custom capture in an opportunity. Instead, they will see the description and required input fields for the formula in a tool tip, and either the formula results, or a message indicating why the field could not be calculated.

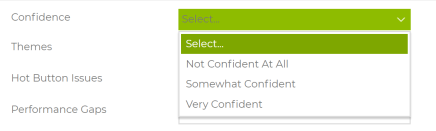
Drop Down Field Types
For drop down field types, use the "Add Option" button to create the options that will show in the drop down field.
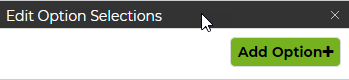
- Once you are in the pop-up window for the drop down field, click
 to get a blank field.
 - Enter the first response in this field.
- Repeat until you've added all the options necessary. Click outside the text field for your last option, then close the popup.
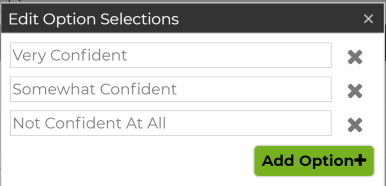
That's it! Users will see the drop down with your options in their opportunities: